Accountability Module
The Accountability Module is the method to do project management in Decidim.
To create the Accountability component:
Sign in as admin
Go to admin panel
In the main sidebar, click in the button for the space that you want to configure the component for. For instance, it could be "Processes", or "Assemblies"
Go to components
Click on "Add component" button
Click on "Accountability"
Fill the Add Component form
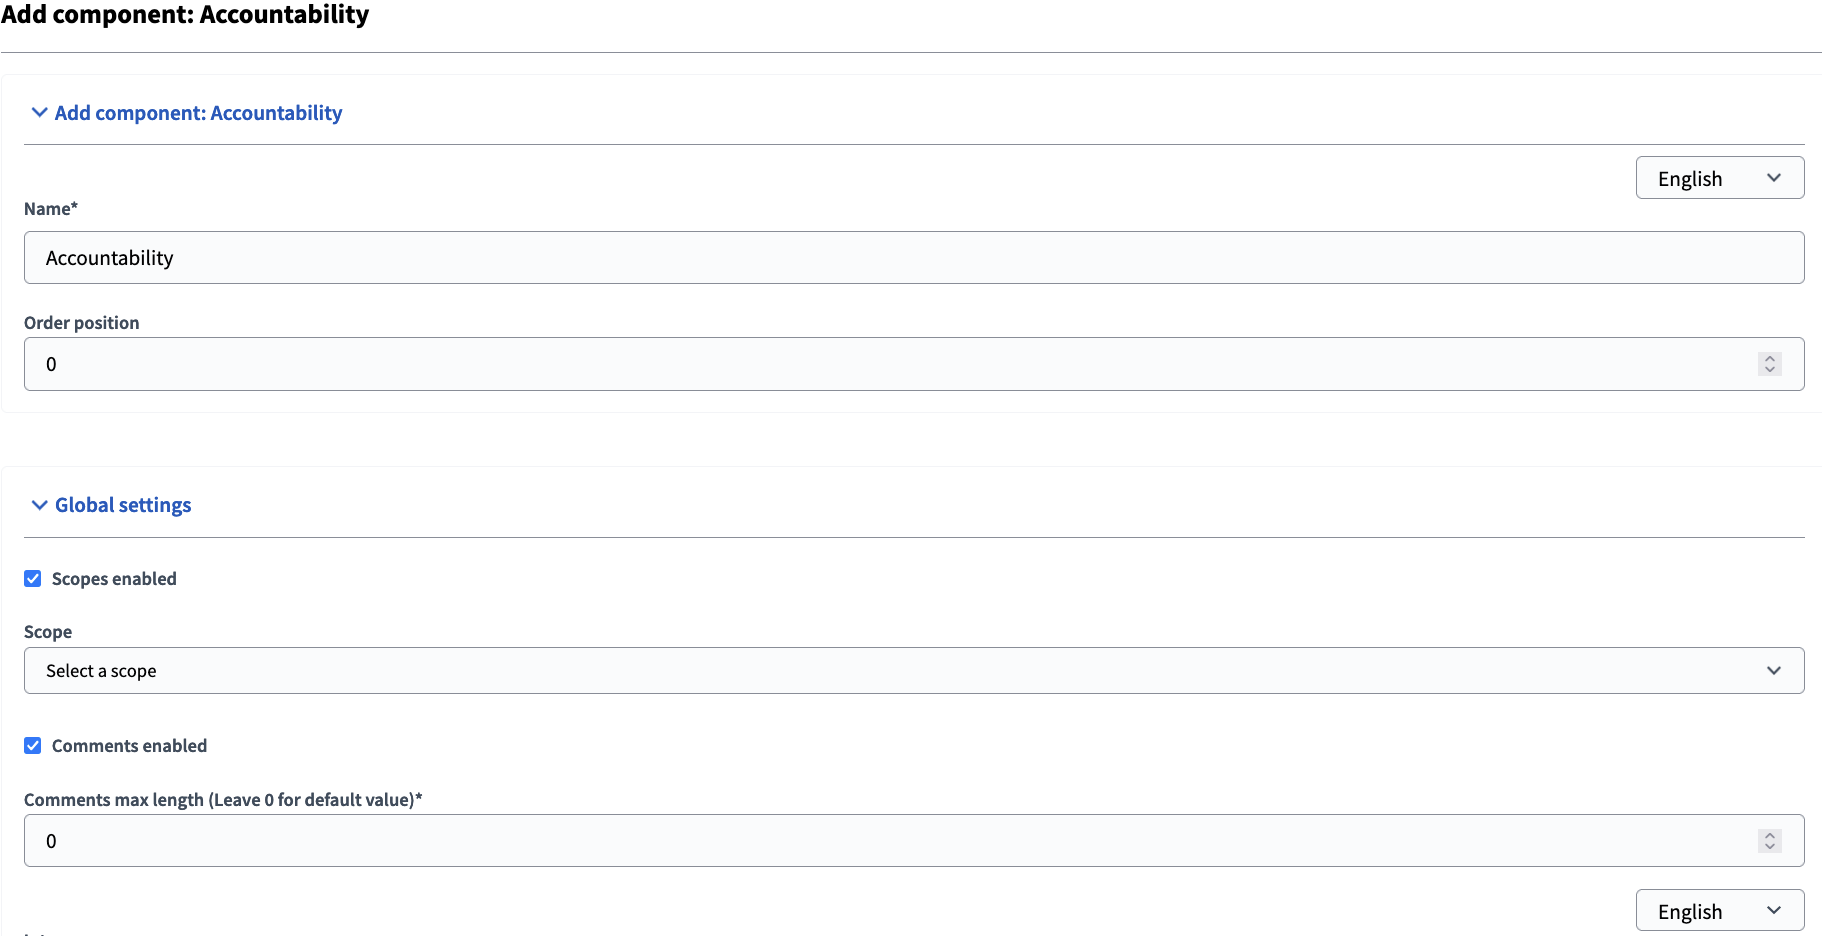
Name: What is the title of this component.
Order Position: The order in relation to other components and other Accountability Modules. This can be especially seen in the landing page where all components are listed.
Scopes: Meant to help organize components and the parts inside them.
Comments: Whether or not we want to allow comments for the whole Accountability Module.
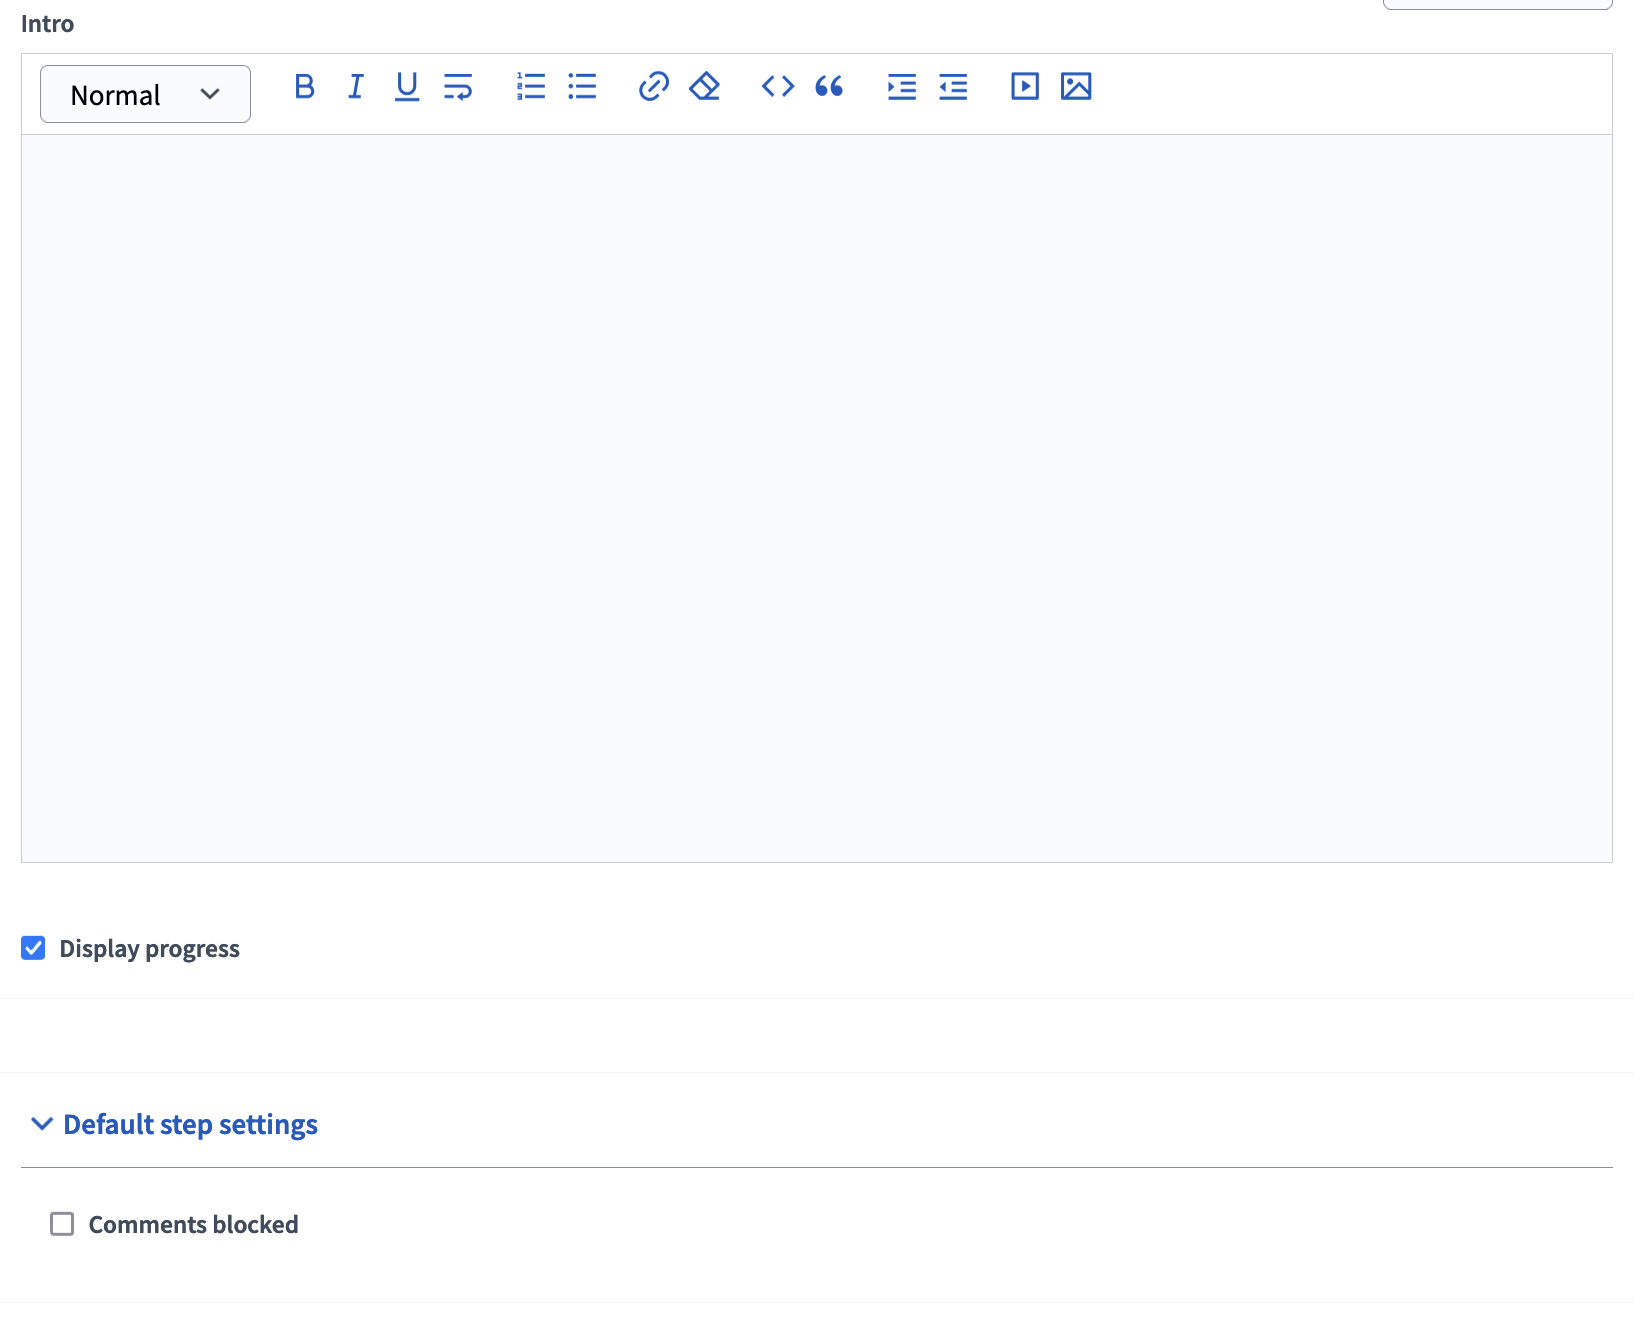
Intro: Places
The Export all button allows you to take the information of all the "results" (they can be thought of as the project itself) in the Accountability Module. It will send you the information via email either through JSON, CSV or Excel.
The import button is for importing another component into the Accountability module. This is primarily for importing a budget component into the Accountability Module.
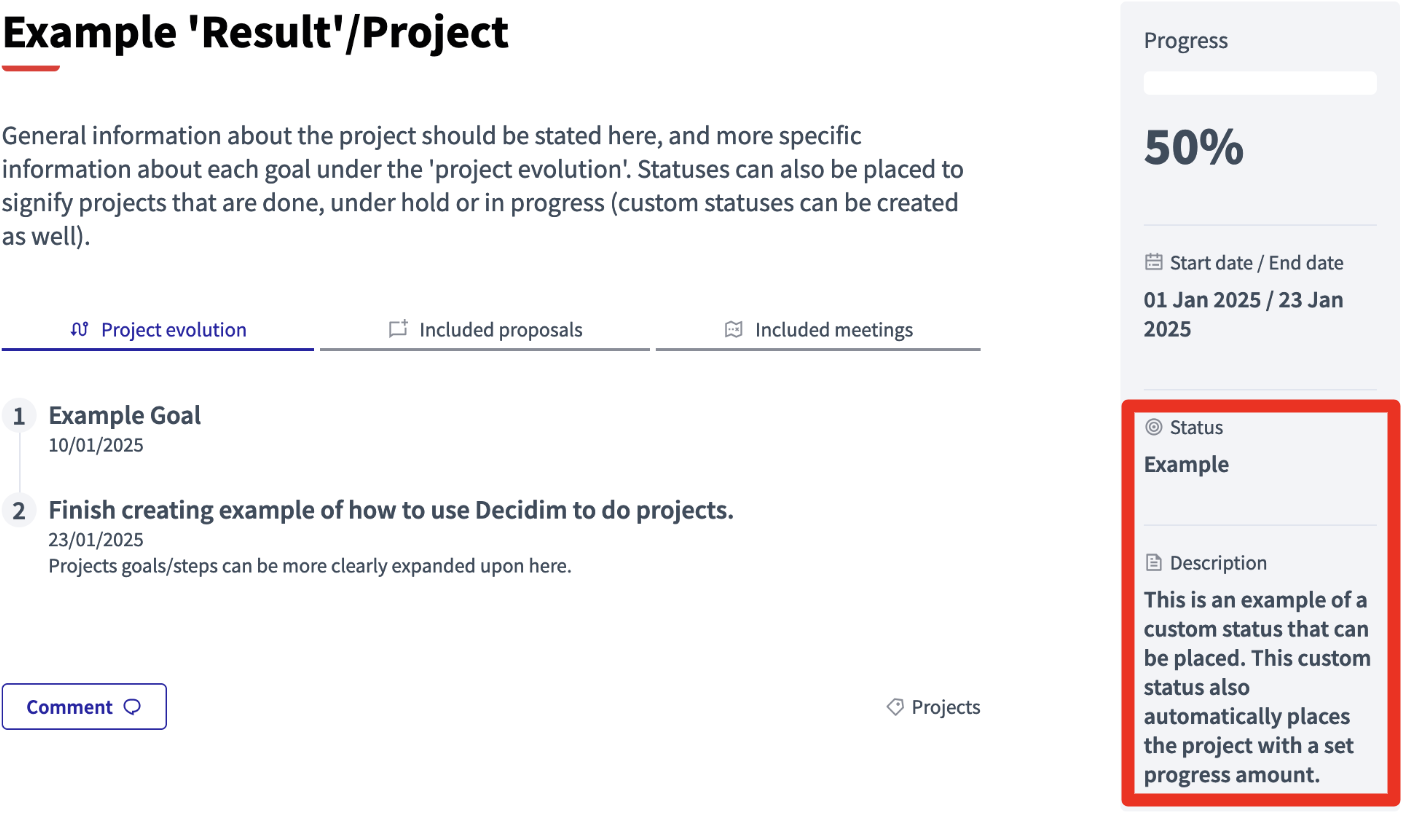
The Status button allows you to create custom status's to use on a result. Each status has a key, and a name. It can also have a description and a progress percentage that the result will immediately take the value of when assigned to that status.
Finally clicking on New Result leads you to this page:
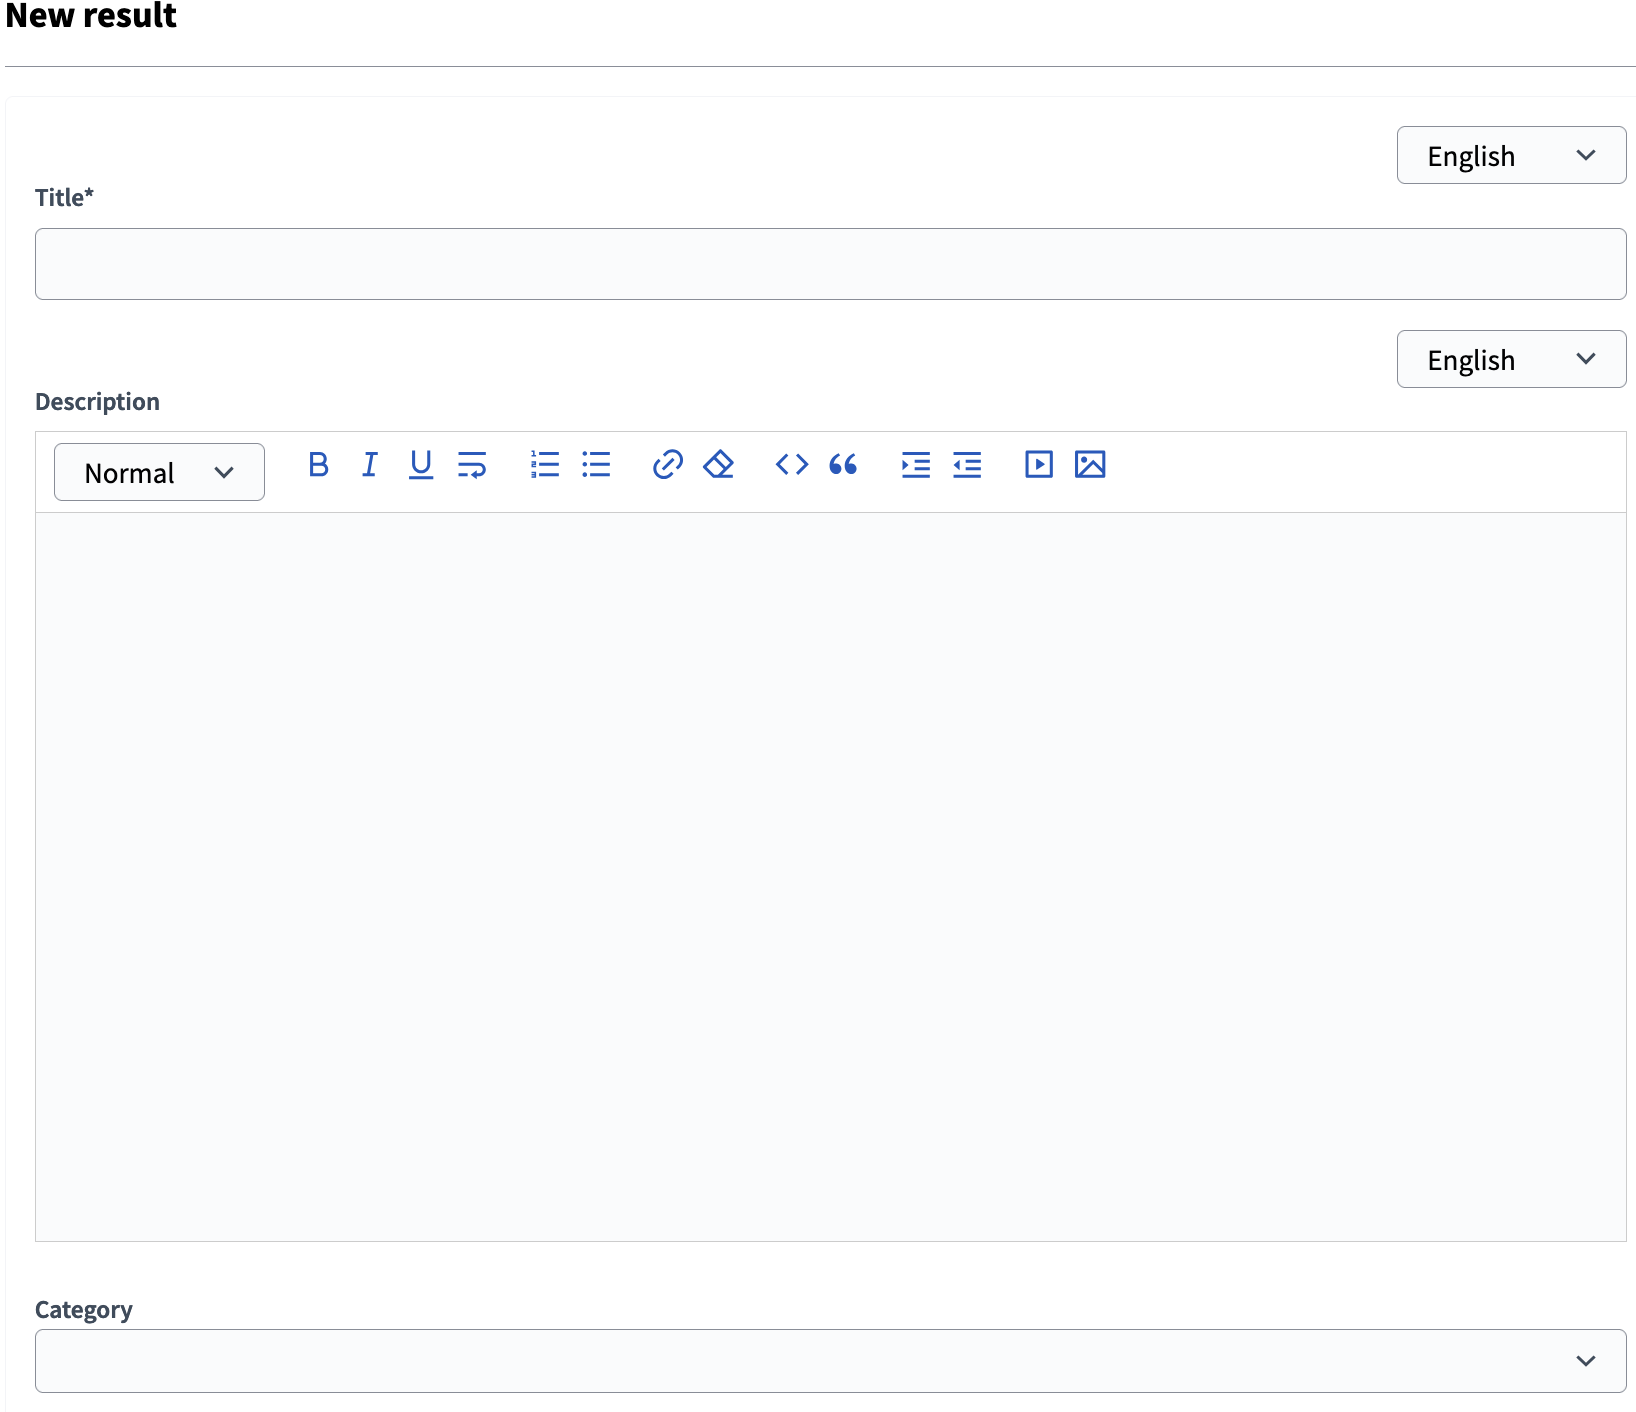
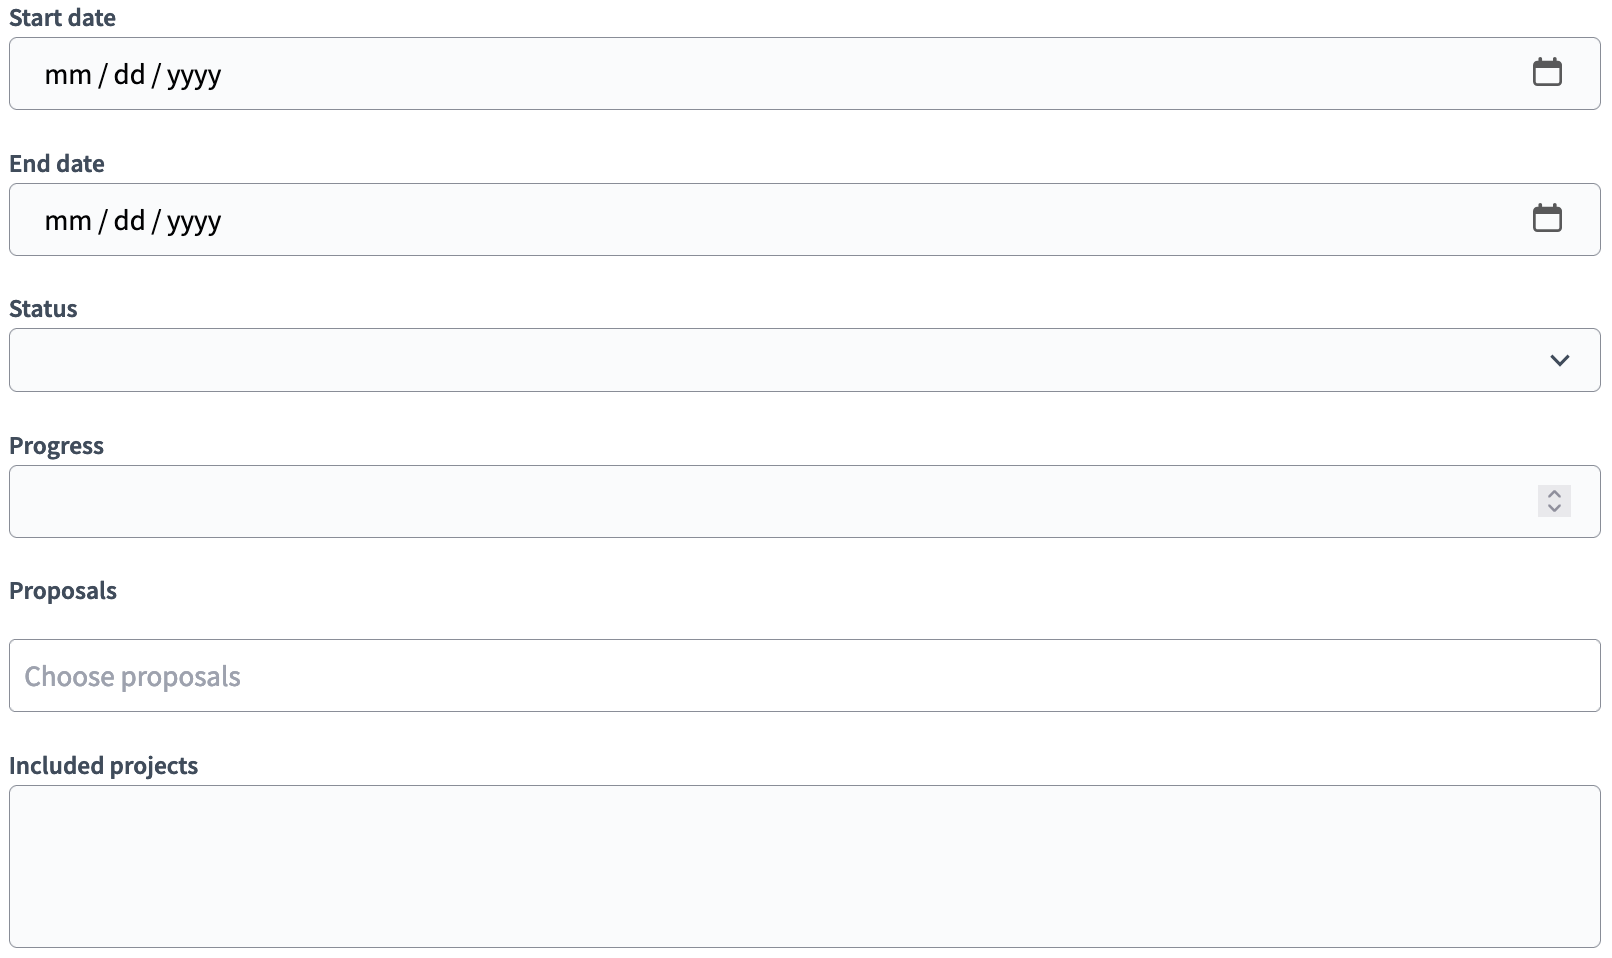
Title is the name of the 'result' that you want to give it.
Description is where you want to give a general introduction to the 'result.'
-
Category is how the result will be sorted. It is very important to have one created and assign every 'result' into a certain category. If you don't you may face issues with locating the result. Including multiple categories will allow the Accountability module to appear like
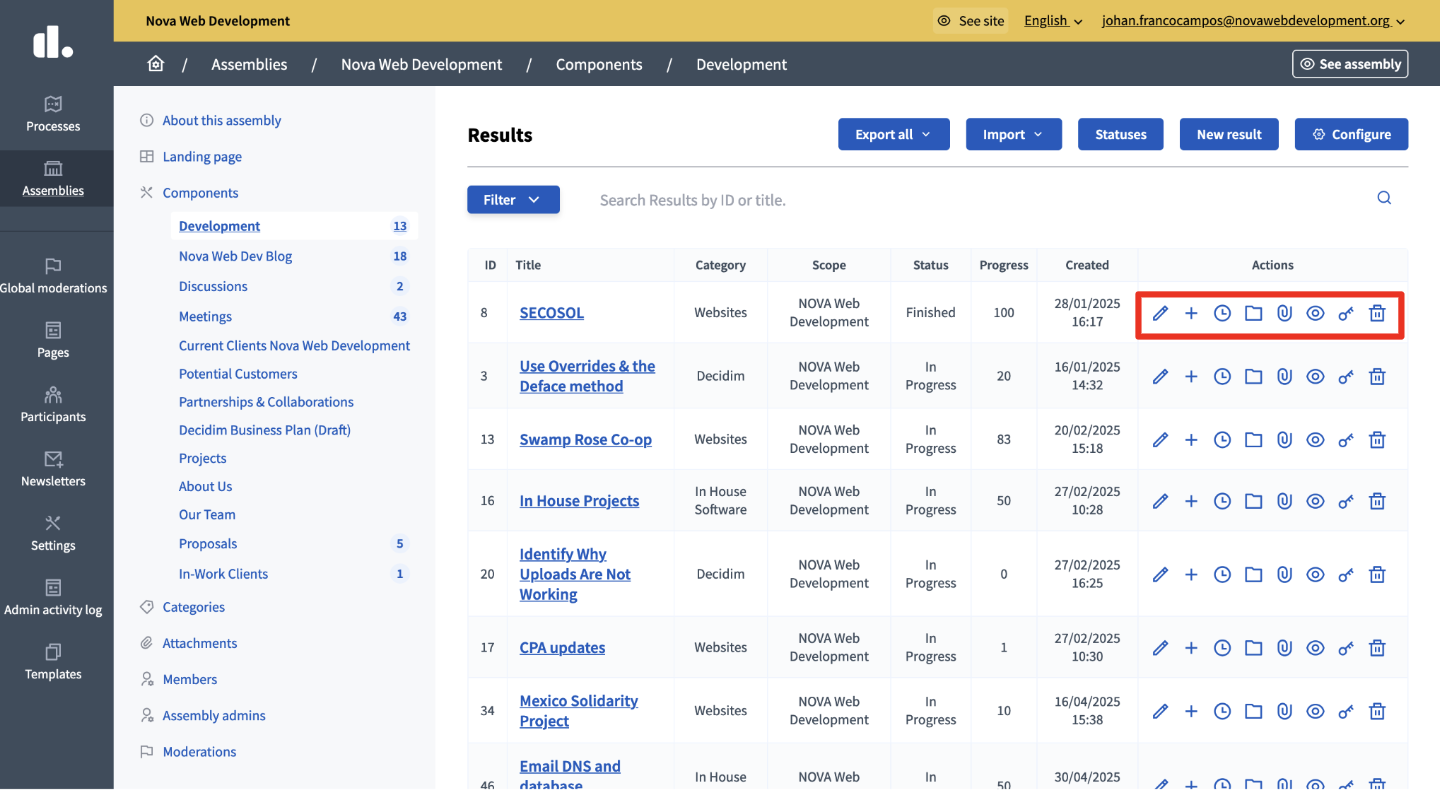
After creating a result there are various actions you can do on that result specifically. Starting from left to right:
Edit: If you click on this button you can edit everything about the result. Essentially you can edit what you previously placed during the creation part of the result.
New Result: If the "result" you created has multiple parts within itself you can create a new result to break the large tags into smaller ones.
Project Evolution: If there are multiple steps in a project then more details can be specified. Usually you want to assign part of the project with a specific date and how then project has changed.
Folders: Can be used to organize attachments into a folder that is displayed in result.
Attachments: If more information is needed it can be added through an attachment. Note that only some files are accepted and that it currently is not working properly for the NOVA Web Development Decidim.
Preview: If the Accountability component isn't public and you want to see the result you created you can use Preview to view it.
Permissions: Modify part of the comment functionality.
Delete: Deletes the result.
0 comments
Log in or create an account to add your comment.